Tackling a big cleanup, renovation, or construction project can feel overwhelming, especially when figuring out what to do with all that debris. Whether you’re clearing out years of accumulated junk, renovating a kitchen, or managing job-site waste, knowing how to rent a dumpster can save you time, money, and stress. This practical guide breaks down the process in clear steps, giving you the confidence to choose the right dumpster rental with ease.
Why Renting a Dumpster Makes Sense
Before diving into the “how,” it helps to understand the why. Renting a dumpster gives you:
- A central place to put all waste and debris.
- A way to avoid multiple trips to the landfill.
- Legal, safe disposal of materials not accepted by curbside trash pickup.
- Peace of mind during big projects.
Now that you’re sold on the benefits, let’s walk through the rental process from start to finish.
Step 1: Assess Your Project Needs
The first thing to consider when learning how to rent a dumpster is the scope of your project. Ask yourself questions like:
- What type of waste will I generate? For example, wood, drywall, roofing, yard waste, and mixed debris are all waste types you might encounter in your project.
- How much debris do I expect? You will have less debris for a smaller project, such as a small renovation, than for a business remodel.
- Where will the dumpster be placed? Consider whether the dumpster will sit in front of a home or in a less obtrusive location, such as a parking lot.
Understanding these factors will help you pick the right size and type of dumpster.
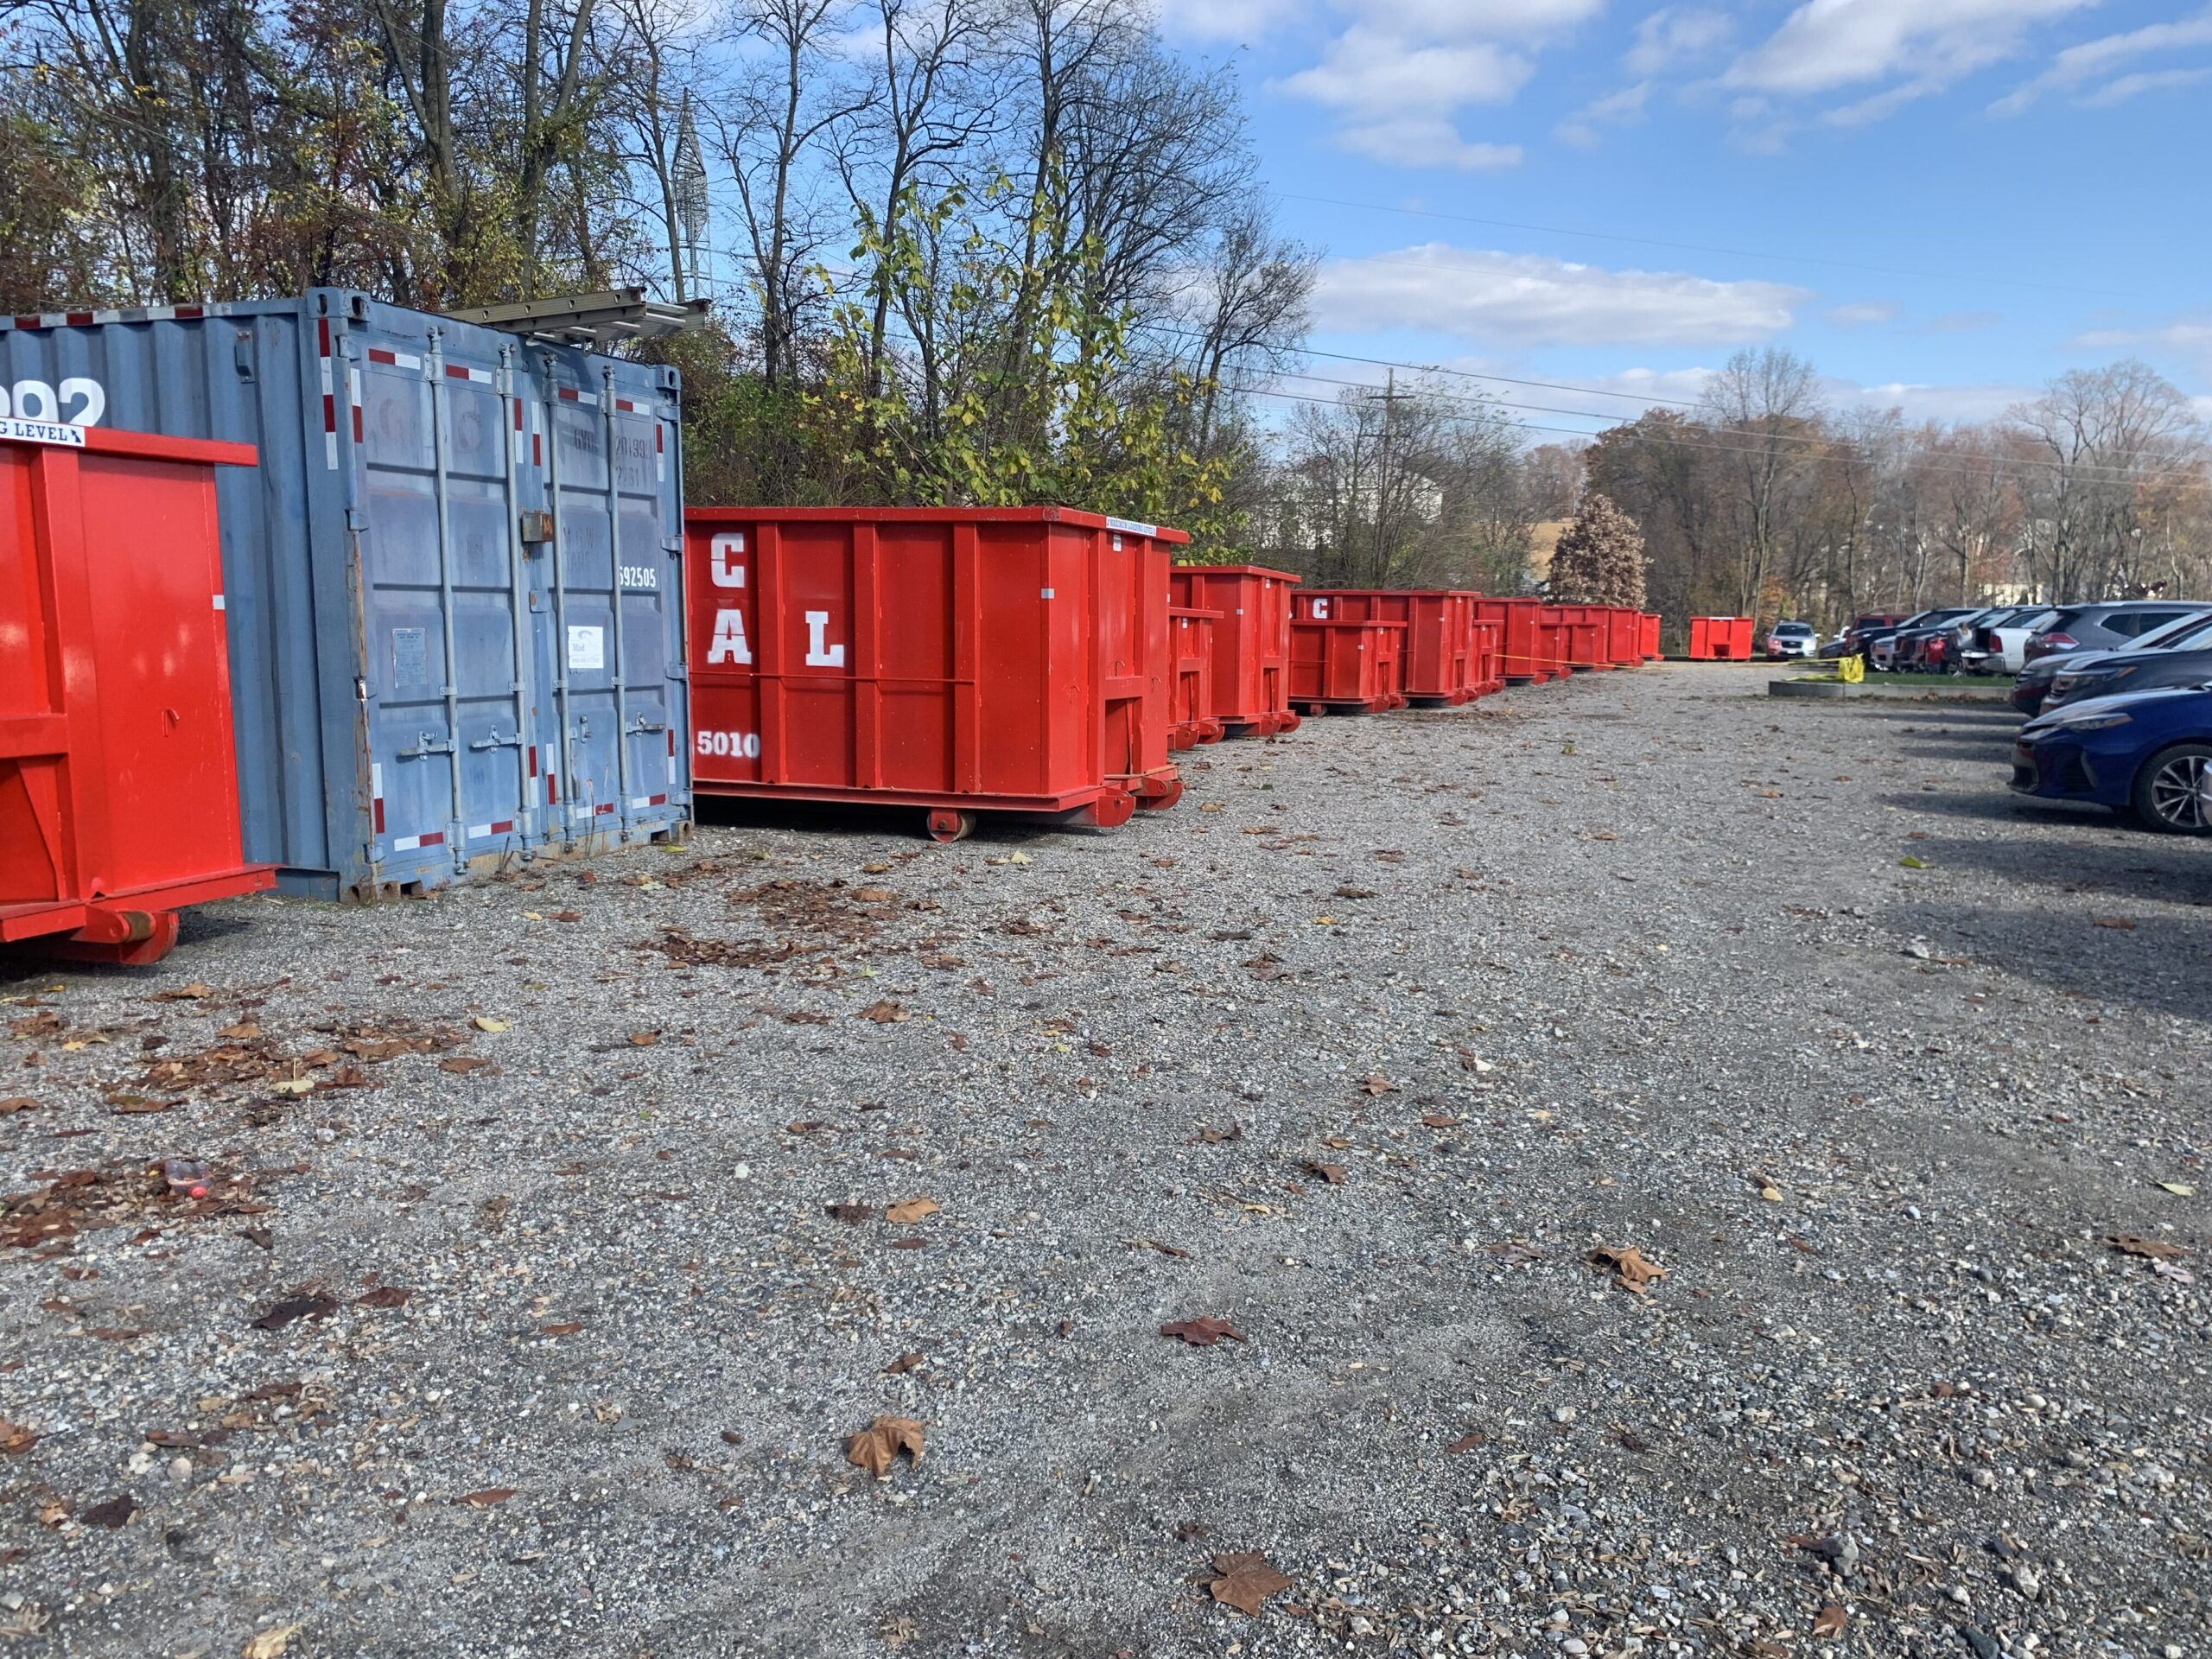
Dumpster sizes are typically measured in cubic yards; common options include 10, 20, 30, and 40-yard containers. Smaller sizes are great for home cleanouts, while larger options work for full renovations or commercial jobs.
Step 2: Choose Your Dumpster Size
Picking the right size dumpster is crucial. Go too small, and you’ll run out of space; go too large, and you’ll pay for unused capacity.
Here’s a simple breakdown to help you decide:
- 10-yard dumpster: Ideal for small home projects like garage cleanouts or moving.
- 20-yard dumpster: A versatile middle option for medium renovations or roofing debris.
- 30-yard dumpster: Good for large remodels and major construction sites.
- 40-yard dumpster: Best for commercial or large demolition jobs.
If you’re unsure, most dumpster rental providers can help you estimate based on your project details.
Step 3: Get Clear, Complete Quotes
Now that you know what size you need, it’s time to get quotes. A key part of how to rent a dumpster the smart way is understanding pricing upfront.
You’ll want to ensure your quote is thorough and includes things like:
- All pricing is upfront, so you don’t get surprised by hidden fees.
- Delivery and pickup are included in the total price.
- The rental period, as many companies include a standard period, like two weeks, in the quote.
Ask the provider to explain any additional charges, such as overweight fees or extra rental days, so you know exactly what you’re signing up for when you rent your chosen dumpster.
Step 4: Schedule Delivery
Once you’ve accepted a quote, schedule your dumpster delivery. It’s likely that you will have your dumpster promptly, often within a day or two. You can expect a delivery window, and when you are scheduling, you will also want to be sure you know where you are placing the dumpster on your property.
Make sure the area where the dumpster will sit is clear and accessible on the day of delivery. If it will sit on a driveway, you may want to protect the surface with boards or plywood.
Step 5: Load at Your Pace
With the dumpster delivered, you’re ready to work. A great part of the dumpster rental process is that you load it at your own pace. Here are a few loading tips for the most efficient use of your dumpster:
- Place heavier items at the bottom.
- Break down large objects to save space.
- Follow the company’s guidance on what can and cannot go in the container.
This approach makes your cleanup or renovation much more efficient than juggling trash bags or multiple landfill runs.
Step 6: Call for Pickup
When your dumpster is full, or your project is complete, call your rental provider to schedule pickup. You’ll rest easy knowing you don’t have to haul anything away, as the company that delivered your dumpster will also retrieve it when it’s full.
Typically, the pickup date is scheduled when you call to request the offer, but extenuating circumstances may arise. You may need more time with the dumpster rental, which will result in additional cost. Once the dumpster is removed, your site should be completely debris-free and worry-free!
Want Some Tips to Save Time and Money When Figuring Out How to Rent a Dumpster?
Here are a few extra tips to make your dumpster rental even smoother:
- Order early: Especially during peak renovation seasons, delivery slots can fill up.
- Know what you’re disposing of: Some materials (like hazardous waste) may legally require special handling.
- Trust the Experts: If you’re unsure of the size you want to choose, talk with the experts! We have handled tons of projects (literally!) and can help you determine what size dumpster best suits your needs.
Ready to Rent? Make Your Project Easier with Cobblestone Waste Management
Now that you know the essentials of how to rent a dumpster with confidence, it’s time to put that knowledge to use. If you want a dumpster rental experience that is transparent, dependable, and guided by true customer care, Cobblestone Waste Management is here to help. With complete pricing in every quote, no hidden fees, prompt delivery, a standard two-week rental period, and a family-owned commitment to honesty and integrity, renting a dumpster has never been easier. Request your quote today and get your project moving forward.


